
Repotting and Root Care
Repotting is less about a calendar date and more about what the root ball is telling you. This guide covers how to recognise a pot-bound plant, how to move it into a compact indoor pot without breaking roots, and how to mix a well-draining blend that suits a Hong Kong flat where floor space and daylight are both in short supply.
When a plant actually needs a bigger pot
Most houseplants in small flats are repotted too often, not too rarely. A plant that has settled into its pot will grow more steadily than one that is moved every season. Look for the three signs below before you buy a new container.
Roots at the drainage hole
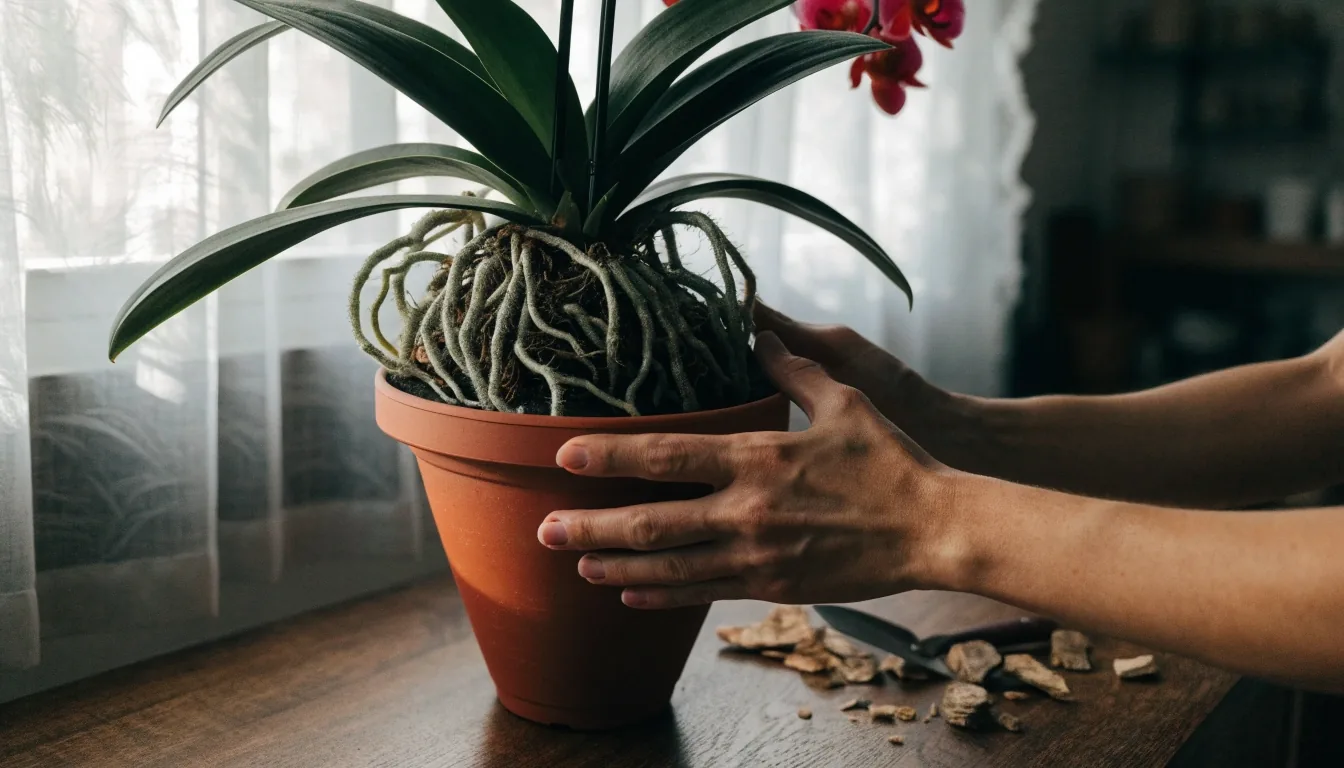
Thick white or cream roots pushing through the bottom hole and curling along the saucer are the clearest signal. Lift the pot and look underneath before you decide anything.
Water runs straight through
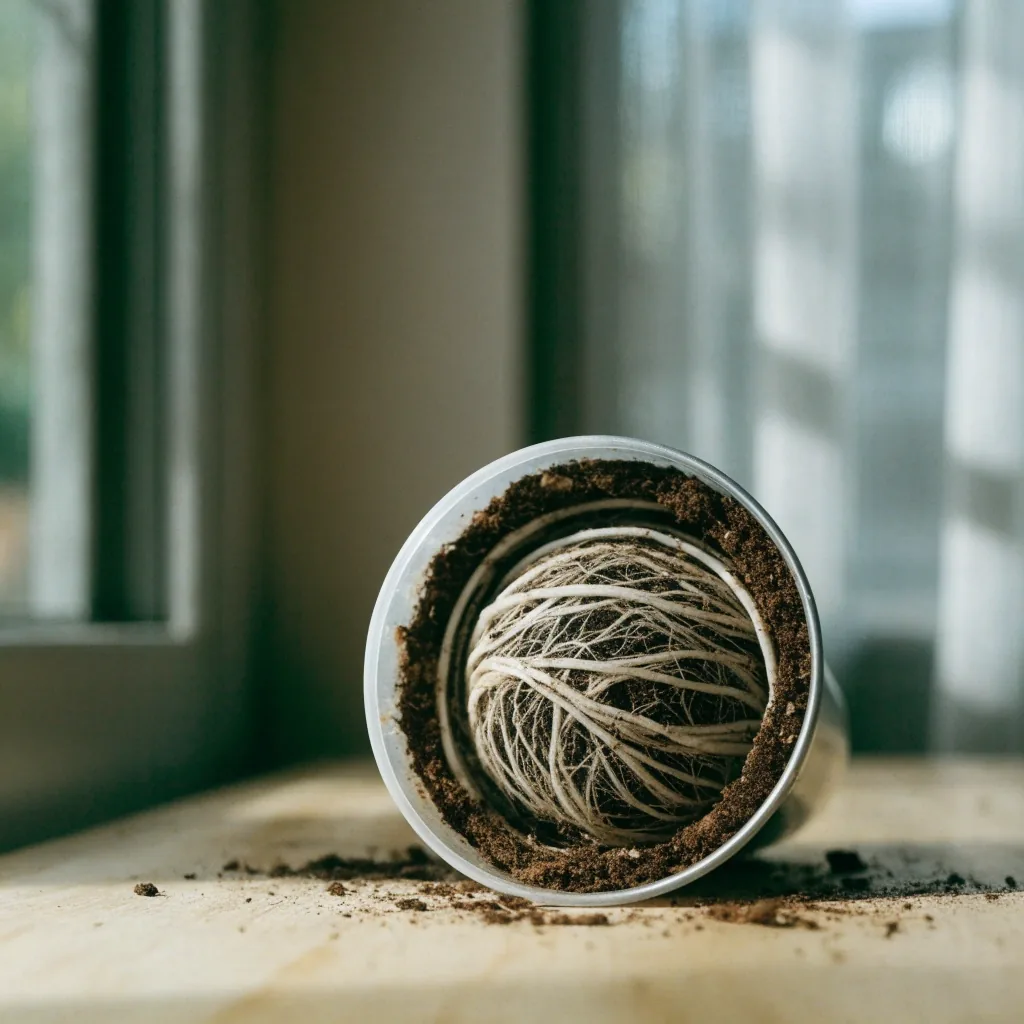
If a pot that used to hold moisture now lets water drain in seconds, the mix has been replaced by a dense mat of roots. There is little left in the pot to hold water for the plant.
The pot tips or lifts out
When the root mass has filled the container, the whole plant can feel top-heavy and wobble. In extreme cases you can slide the root ball out as one solid block.
Timing matters more than technique. A plant repotted in its active growing season settles in weeks; the same plant moved in the middle of a slow period can sulk for months.
Building a well-draining mix for a small pot
A compact pot holds less mix, so every part of it has to work. Heavy garden soil compacts in a narrow container and holds water against the roots, which is the usual cause of rot indoors.
You can mix your own from three parts, or buy a bagged indoor blend and lighten it with one handful of perlite per pot. Neither route needs to be exact — the goal is a mix that drains freely and still holds a little moisture.
- Potting soil Two parts of a light, peat-free or peat-reduced houseplant soil. Avoid anything sold for outdoor beds or vegetable patches — it is too dense for a 15 cm pot.
- Perlite or pumice One part of white perlite or fine pumice. These are the lightweight grits that keep air pockets open when the mix is wet and stop it setting like a brick.
- Orchid bark or coco chips One part of chunky bark for aroids, ZZ plants and monsteras. Skip this for ferns and African violets, which prefer a finer, more moisture-retentive blend.
- A pot with a real hole Drainage only works if water can leave. A decorative outer pot is fine, but the inner container must have at least one open drainage hole and never sit in standing water.
A note on size: move up by one pot width, not two. A 15 cm pot becomes an 18 cm pot, not a 25 cm one. Oversized pots hold wet mix around roots that cannot reach it yet.
Repotting, step by step
Set aside thirty minutes and work somewhere you can sweep up afterwards. Roots are easier to handle when the mix is slightly dry, so water a day or two before rather than the same morning.
-
1
Water lightly, then loosen the edges
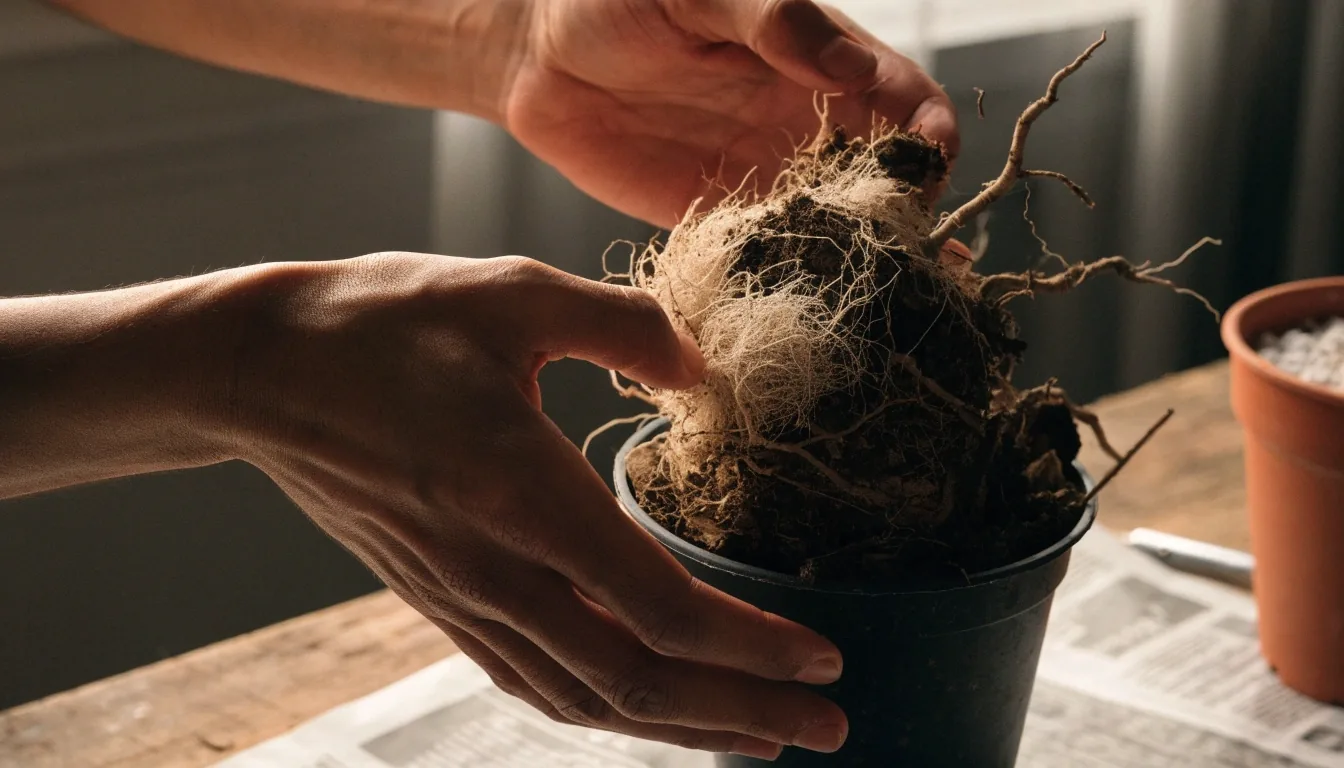
Run a blunt knife or a chopstick around the inside rim of the pot to separate the mix from the plastic. This single move prevents most root tearing, especially with plants that have been in the same container for years.
-
2
Support the base and tip it out
Cradle the stems between your fingers, turn the pot on its side and ease it off. If it will not budge, tap the base against a firm surface rather than pulling the plant by its leaves.
-
3
Untangle the root ball
Fingers, not scissors. Tease the outer roots loose and let any circling ones point outward. Trim only roots that are black, mushy or smell sour — those will not recover and can spread rot through the fresh mix.
-
4
Replant at the same depth
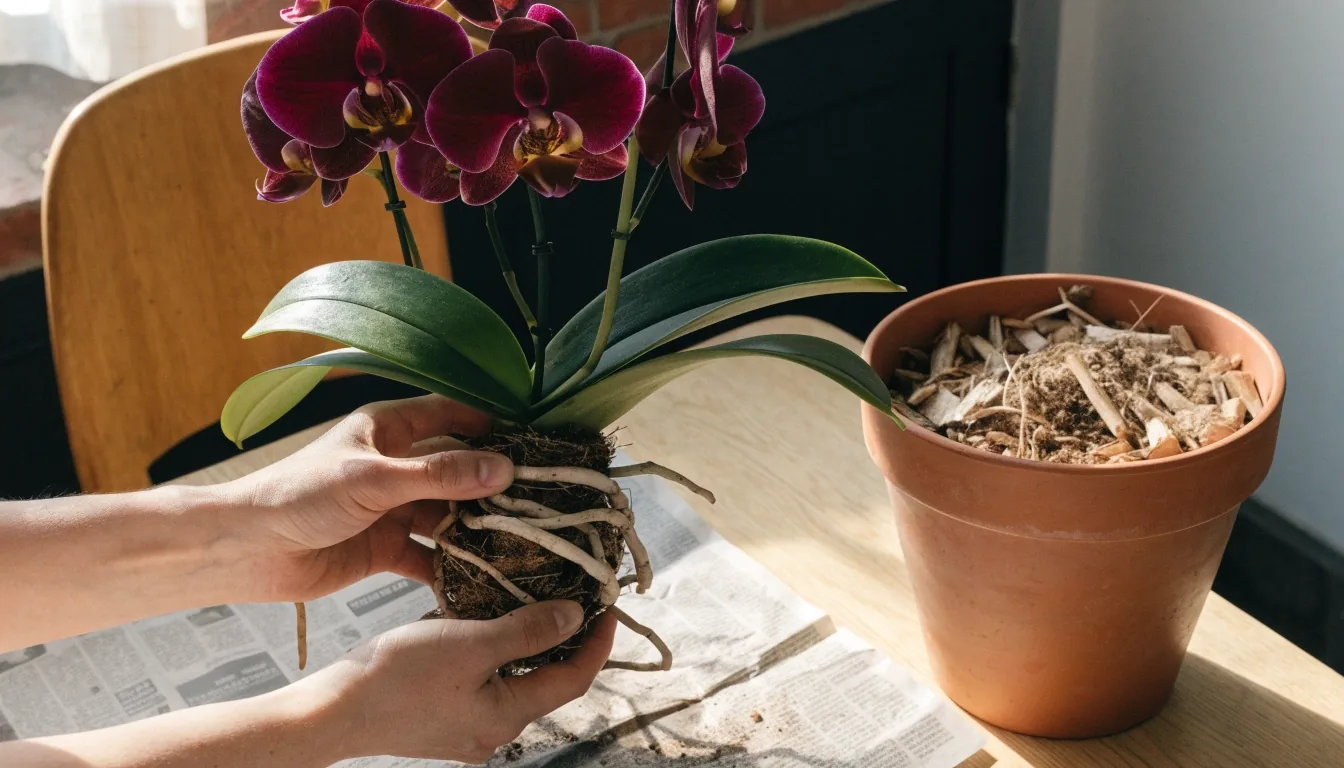
Add a layer of fresh mix, sit the plant so the crown stays level with the rim, then fill around the sides and press down gently. Leave 2 cm of headroom so you can water without spilling.
After repotting, keep the plant out of direct sun for a week and hold off on feeding for about a month. Water as usual — the fresh mix already holds enough for the roots to settle into. Most plants show new growth within a few weeks if the move happened in spring or early summer.
When things go wrong after the move
A repotted plant often looks worse before it looks better. Drooping leaves in the first week are normal; the trouble signs appear later and point at the roots, not the leaves.
The leaves are yellowing and the mix stays wet
This is the classic sign of a pot that is too large for the roots. Water sits in the mix around the edges with nothing to drink it. Move the plant back into a smaller container with fresh, gritty mix and cut back on watering until you see new growth.
Roots are brown, soft or smell sour
Trim those sections with clean scissors, dust the cuts with cinnamon or a rooting powder, and repot into dry, well-draining mix. Wait three or four days before the first watering so the cut surfaces can close.
New growth is pale and stretched
Usually light, not roots. After repotting, plants that sit far from a window will reach for whatever brightness they can find. Move the pot closer to a bright spot without direct midday sun and the new leaves should come in shorter and darker.
The plant has not grown in months
Check the season before you blame the repot. Many indoor plants rest through winter and pick up again in spring. If growth stays flat through the growing season, look at light and watering before reaching for the scissors.
Small-flat details that matter
Apartment living changes a few of the usual rules. These are the adjustments that matter most in a compact Hong Kong home or a shared office desk.
Weigh the pot, not the calendar
A pot that feels light means dry mix. Weighing in your hands is quicker than pushing a finger into the soil and does less damage to shallow roots.
Keep saucers shallow
Deep decorative saucers hold water against the base of the pot. A shallow one, emptied after watering, protects wooden shelves and stops roots sitting wet.
Repot outdoors if you can
Loose mix travels. A balcony, a corridor or a sheet of newspaper by the window keeps grit off the floor and out of the sink drain.
Two pots per shelf, not six
Cramming pots together blocks airflow around the base and hides early root problems. Leave a hand's width between containers so you can lift and check each one.
Repot when the roots ask for it
If your plant is showing any of the signs above, start with the root ball. If nothing has changed and the pot still feels heavy after watering, leave it for another season. Repotting is a repair, not a routine.
Where to go next in the series
Repotting sits in the middle of the care cycle. These five guides cover the rest of it, in the order most people need them.
- 01 Choosing Easy-Care Houseplants Plants that tolerate missed waterings and low light — the right starting point before you repot anything.
- 02 Placing Plants in Small Spaces Shelves, ledges and narrow corners where a compact pot can sit without blocking a walkway.
- 03 Light for Indoor Plants How to read a window's direction and know what a plant will actually get through the day.
- 04 Watering Without Overwatering The habits that keep a small pot evenly moist instead of soaked and starved of air.
- 05 Building a Simple Care Routine A short weekly rhythm that fits a working week and keeps every pot on the same schedule.
Wilder Plant Guide
An informational resource helping Hong Kong apartment and office dwellers choose, place, and care for low-maintenance houseplants in small, light-limited spaces.
Reach us Monday to Friday, 9:00 AM – 6:00 PM at [email protected] or +852 2875 9910. We answer questions about repotting, mix choices and root problems, and we point you to the guide that fits.